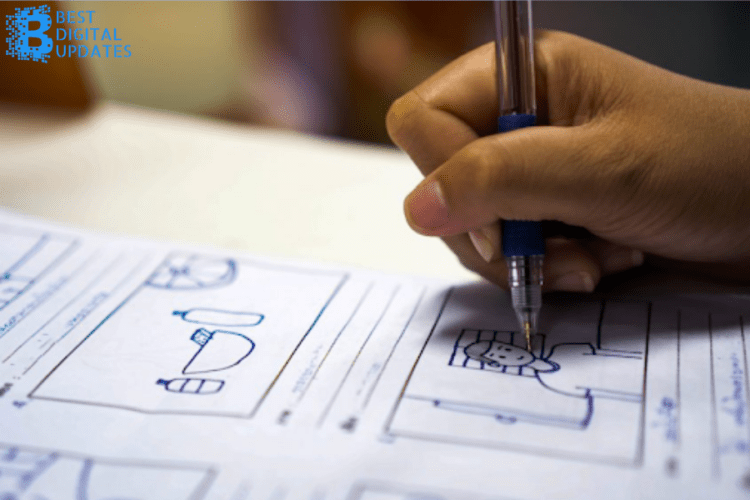
Thinking about the story, writing the theme, writing the storyboard, writing the script. Creating a video is a much more complex operation than you might think. In fact, to create a successful one, it is not enough to know the basic concepts of layout and assembly of images. Limiting yourself to these two operations can be fatal, especially if the message is being conveyed by a brand that wants to make itself known.
Therefore, for the latter, it is necessary to turn to specialists in this field – animated explainer video company Explain Ninja: we can create videos not only in quality, but also taking into account the requirements of the topic, narration and image quality. In short, a fundamental operation if you want to talk about it correctly and with thick content: but how does this type of work?
Storyboard tool
Table of Contents
One of the main steps in the process of creating a video is represented by its storyboard. It is a series of sketches accompanied by captions (or, conversely, simple schematic descriptions) that provide important information about the composition of the frames or screens that follow one after the other in the finished product. So not only the main scenes are defined with the help of a storyboard, but also a black and white image of what the setting will look like, who will be there and what the actions will be. Whether it’s a music video or a commercial, it’s a very important tool for short-term shots and can be created manually or digitally.
How to make a storyboard
In its implementation, there are a number of steps that must be taken into account if you want to have a stable and high-quality finished product. Let’s see together how to storyboard a video, especially if its final destination is the Internet.
1. Start with brainstorming
The quality of a good video lies in the creativity of the minds that came up with it. That’s why, in order to create a noteworthy product, it’s important to have a team of trained and creative people behind it who work together on it. The first step is essentially a brainstorming session between professionals: ideas, mind maps, concept lists, keywords, and sketches are the starting point for building the foundation of the video.
2. Map the story
Once all the ideas have taken organic form, it is time to give a temporary and meaningful form to what was intended. To do this, it is important to establish a chronology of events (for example, listing the main facts of the story in the order in which they will appear), highlight key scenes, and write a more or less detailed description of the events frame you plan to take. Especially this last step will help those who decide what to draw for their storyboard.
3. Draw scenes
Thus, we come to the most fun part of any article explaining how to storyboard a video: drawing frames. This operation can be performed by hand or with the help of special graphics programs. In the first case, it is enough to have a block, a pencil, an eraser and a ruler.
However, in the second case, you will need a PC or tablet with editing programs installed (Adobe Illustrator, Amazon’s Storyteller or InDesign), a graphics tablet, and a digital pen to draw on them. In both cases, the basic step is to draw lines that form a grid within which pre-designed scenes can be drawn. The latter should be designed taking into account the composition, angle, type of shooting, actors and special effects.
4. Developing story
After the scenes are drawn, the storyboard is complete. But you should be careful: it is almost impossible to complete such a project at a time. A self-respecting storyboard is actually the result of continuous changes that lead to improvements over time until it reaches the desired quality.
Rather, go to our website and order a video production storyboard today. To put your own video on your website tomorrow and improve your sales!


